Whether you use Seesaw regularly or are new to the platform, sharing a purchased resource may get a little confusing. Here’s a step by step on how to get it done.
Before you purchase a resource for use in Seesaw, make sure you have an account in the platform. Each purchased resource is already part of the seller’s Seesaw Activity Library under their own Seesaw account. When you purchase a resource, you will be provided a PDF or other document that includes a link that you will use to copy the resource to your own Seesaw Activity Library. Once copied, you can access the resource via your Seesaw account whenever you want.
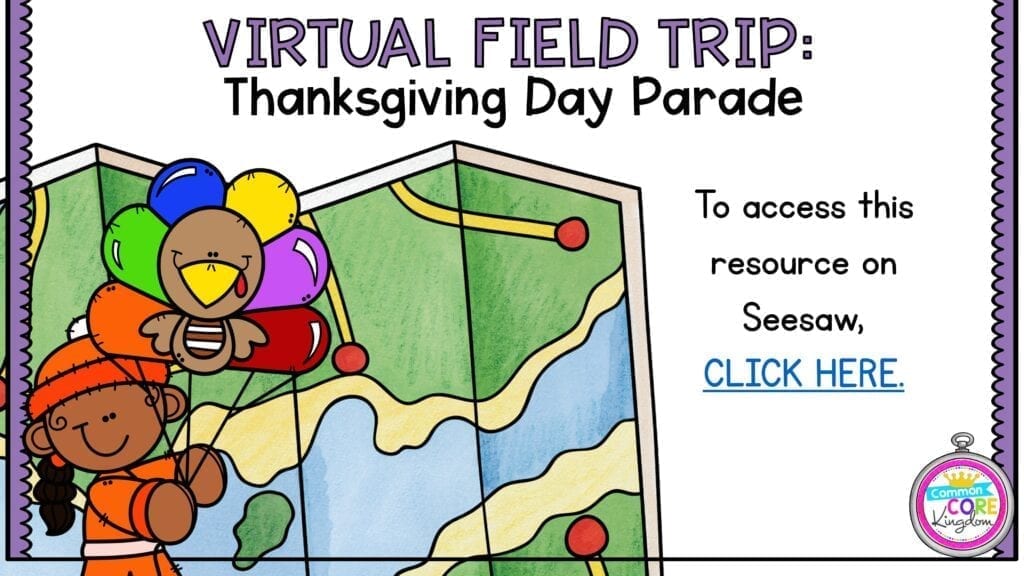
In order to access a Seesaw resource, click the link provided by the person who is selling or sharing the resource. You may need to sign into your Seesaw account.
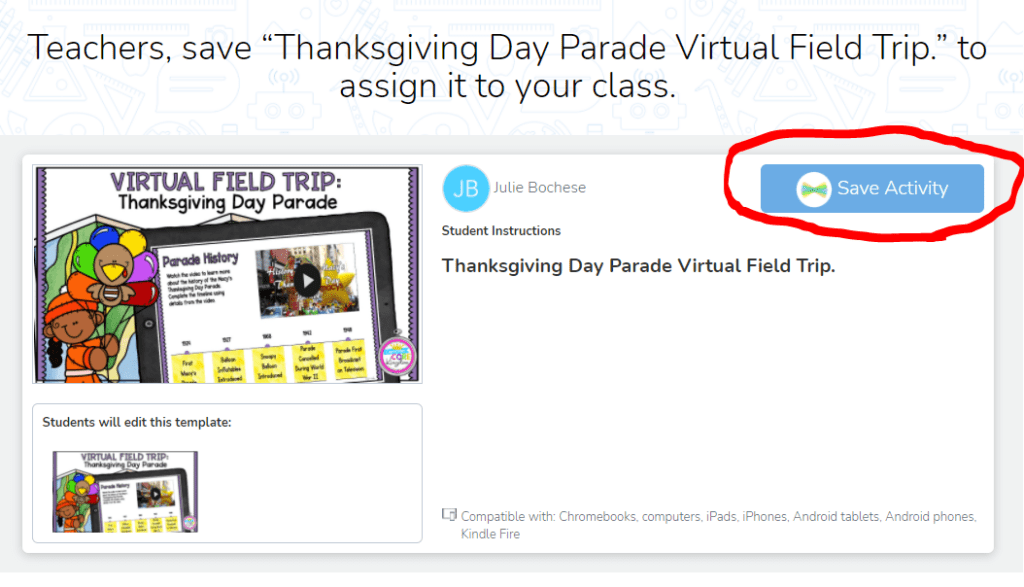
Seesaw will then ask you if you want to save the activity so that you can assign it to your class. Click “Save Activity” and you now have your own copy of the resource in your Seesaw Activity Library.
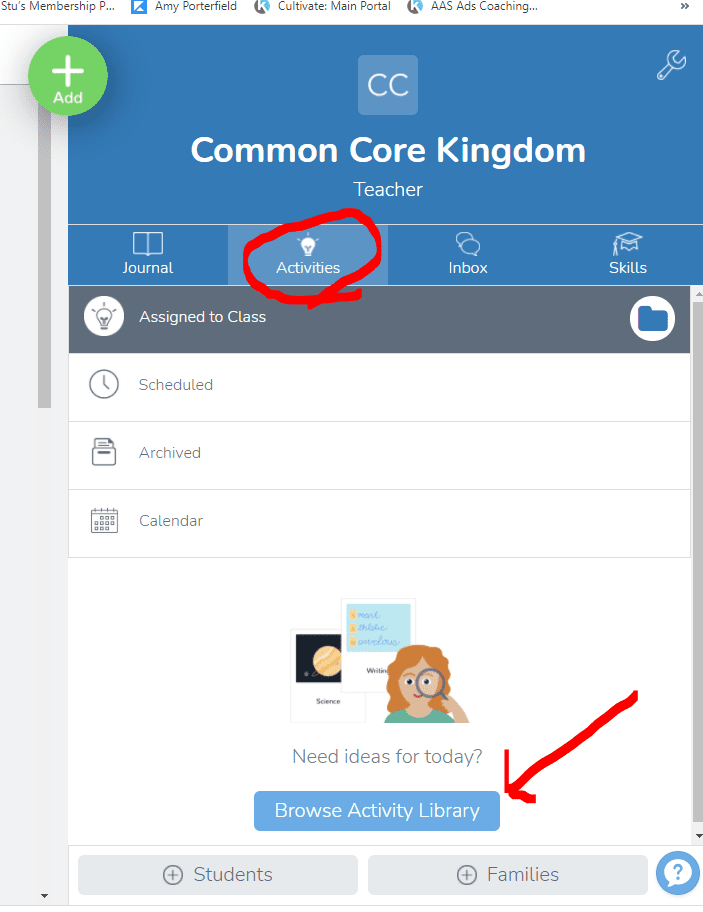
Once you have your own copy, the next task is assigning it to your class. First, you will need to access your Seesaw Activity Library. You can do this by clicking on “Activiities” and then “Browse Activity Library”.
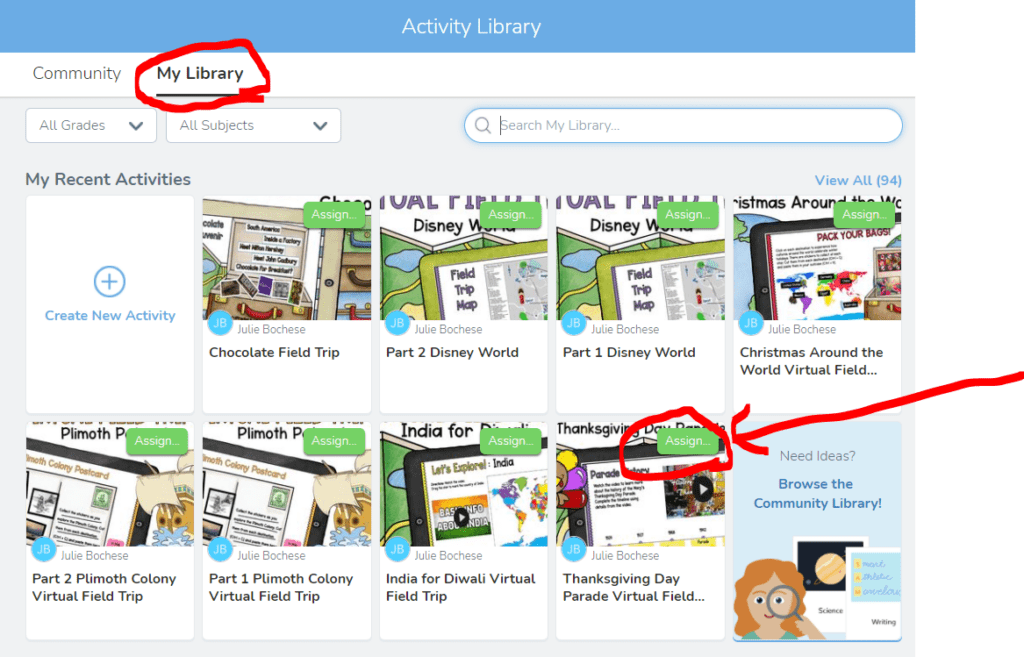
Next, click “My Library” on the top of the screen. Then find the activity and click the green “Assign” button.
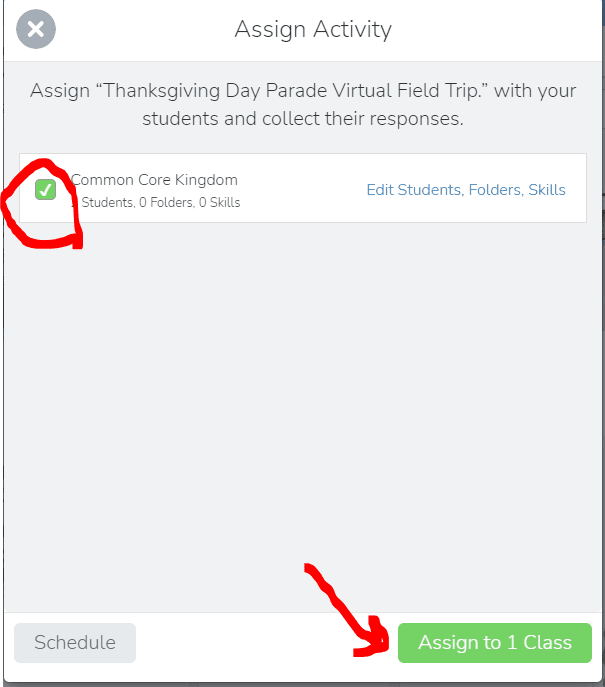
For the last step, check the class list that you want to assign the activity to, then click “Assign to 1 Class”.
I hope this quick summary helps you use and share some of the amazing resources people are creating for Seesaw. If you’re looking for effective and engaging Seesaw resources, check out my Virtual Field Trips and Digital Mini Lessons. You can also shop my TPT store!